Update June 21, 2011: Apparently, the process is not as straightforward as I presented it, especially if you use unique App IDs for your app. Please note the updated section below.
With Xcode 4, Apple improved the way Code Signing works for distribution builds of your iOS apps. Unfortunately, though, Apple has not yet updated the documentation in the iOS Provisioning Portal, which still focuses on Xcode 3. I recently found out about the changes by accident when I stumbled on a Technical Note titled Understanding and Resolving Code Signing Issues.
Use the same build process for Ad Hoc and App Store builds
In the past, the process of preparing a build for Ad Hoc distribution varied slightly from the steps required to make a build for the App Store. In addition to requiring different provisioning profiles, an Ad Hoc build required you to create an Entitlements.plist file, uncheck the get-task-allow option and include this file in your build settings. This difference usually meant you would create separate build configurations for Ad Hoc and one for App Store distribution in Xcode. It also meant you had to create a fresh build of your app when it was ready for the App Store rather than using the last Ad Hoc build that had been successfully tested by our beta testers1.
With Xcode 4, this is no longer necessary. While you still need to sign your app with different provisioning profiles for Ad Hoc and App Store distribution, the code signing can be deferred until after building and archiving2. Ad Hoc builds no longer require special Code Signing Entitlements so you can use a single build configuration for all your release builds.
Step by Step Guide to Code Signing with Xcode 4
-
Use the iOS Provisioning Portal to generate and download your Distribution Provisioning Profiles. Double-click the downloaded profiles to install them into Xcode. Nothing has changed here.
-
If you have previously created an
Entitlements.plistfile for Ad Hoc distribution, you can delete it. Also remove the filename from your build settings if you have listed it under “Code Signing Entitlements”. Skip this step if you require an entitlements file for other purposes than code signing. In this case, just remove theget-task-allowoption from the property list. -
If you have created separate build configurations for Ad Hoc and App Store builds, you can also delete them (unless you are using any custom build settings to customize these builds in another way than code signing). The default “Release” build configuration is enough.
-
The “Code Signing Identity” setting in your target’s Build Settings can be set to your default development provisioning profile (“iPhone Developer”) for both the Debug and the Release configuration. The actual code signing for distribution will be done separately after the build.

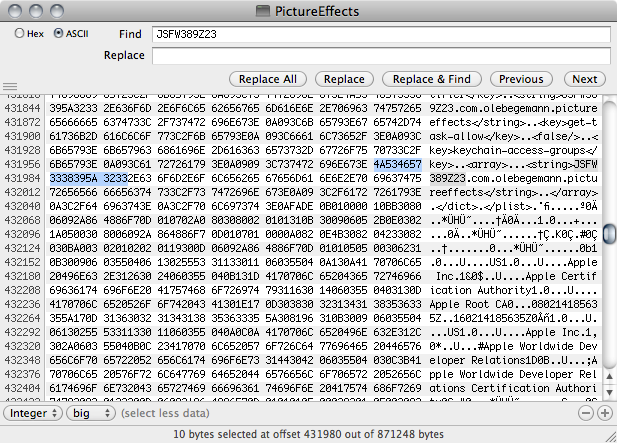
You can use your default development provisioning profile to sign all builds initially. The correct signing for distribution builds is deferred until later. Update: Colin Humber, developer at TestFlight, made me aware of a potential problem with this approach. Apparently, the App ID of the provisioning profile that is used for building the app is hardcoded into the binary during the build process. If you later resign the app with a provisioning profile that belongs to different App ID, the one in the binary will no longer match the provisioning profile’s App ID since the binary will not be recompiled. This can cause all sorts of problems with services that rely on the App ID, such as access to the keychain, Push Notifications, or In-App Purchasing.

The App ID of the provisioning profile that is used for building the app is embedded in the application binary. This issue will not affect you as long as you use your default “wildcard” App ID (the one that looks like
1234567890.*). But if you use a separate concrete App ID to publish your app on the App Store, you have to make sure to build your app with a provisioning profile that uses the same App ID. You should not use your default Team Provisioning Profile for release builds in that case. Thanks for the heads-up Colin! -
Use the Archive build command to create a release build of your app. Open Xcode’s Organizer and find the newly created archive. Now, if you click the Share button to save your Ad Hoc build, you have the chance to select the correct Ad Hoc distribution provisioning profile. Xcode will resign your app with the selected profile. If your beta testers have found no more issues, you can submit exactly the same build to the App Store: just click the Submit button and select your App Store provisioning profile and Xcode will resign your app again.
-
This was possible before with the
codesigncommand line tool but not within the Xcode interface. ↩︎ -
Guillaume Campagna told me on Twitter that this feature was actually introduced in an earlier version of Xcode. Just the fact that Ad Hoc build no longer need an Entitlements file seems to be new in Xcode 4. Thanks! ↩︎